Author: Rene De Leon (CEO & General Contractor)
Published: 10/23/2025
The four pillars of a solid design
Every successful loft or room addition balances four cornerstones: Appearance, Functionality, Code, and Feasibility. Appearance means the new work looks like it has always belonged; Functionality ensures clear circulation, smart storage, quiet floors, and balanced HVAC; Code covers life safety
In practice, loft and room addition design plays a major role in how homeowners in California expand their living space and improve usability. From layout planning to structural considerations and aesthetic flow, understanding the fundamentals of loft and room addition design can help you create functional, beautiful spaces that fit your lifestyle.
Start with reality: measure, then plan
To begin, assume the original tract drawings are out of date. Begin with current measurements of the space, including ceiling heights, wall thicknesses, and locations of ducts, plumbing, and wiring. Accurate “as-builts” reduce plan-check comments and help the engineering team size members correctly the first time.
Layout that lives well day to day
First, decide the primary use of the new space early because it drives everything else. A bedroom needs privacy, egress, and quiet surfaces. A home office wants natural light and power/data in the right places. A family lounge benefits from open sightlines and furniture-friendly wall lengths. At the same time, review stair placement carefully so it lands where traffic already flows and does not steal the best light from downstairs.
Structure first, finishes second
From there, once the room shape is set, the structural path follows: joist directions, bearing points, and any beams or headers. The goal is a stiff, quiet floor and clean transitions below. Finishes come after structure is solved, not before. That sequence avoids surprises when framing meets real-world conditions.
Daylight, airflow, and acoustics
As a result, high-ceiling conversions can change how light and sound move through the home. Preserve window sightlines downstairs where possible. Plan for supply and return air in the new room so temperatures are even. Use thoughtful door placement, insulation, and underlayment details to keep sound transmission low between levels.
Electrical and low-voltage planning
For example, sketch real furniture layouts and mark outlets, switches, and lighting where you’ll actually use them. Plan dedicated circuits for desk areas or fitness equipment if needed. Pre-wire for data, access points, and future media so you’re not fishing wires after drywall.
The design meeting and visuals
In many cases, a short 3D walkthrough or set of perspectives helps confirm head heights, guard locations, and how the new space connects to the rest of the home. It is far easier to adjust a stair or a closet on paper than after framing. Clear visuals also speed up homeowner approvals and reduce back-and-forth during city review.
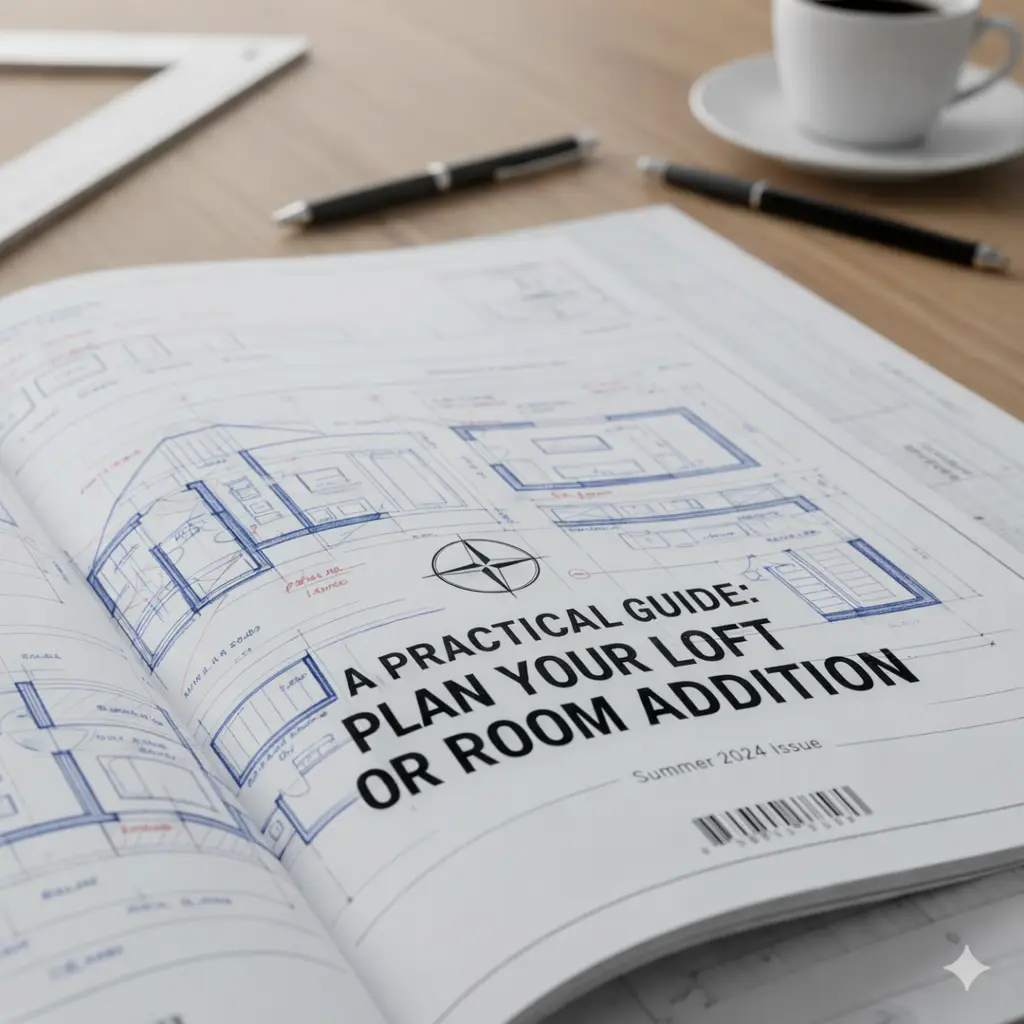
What should be in your plan set
Expect a complete package: site plan, existing and proposed floor plans, sections, elevations if the exterior changes, structural details and calculations, lighting and mechanical notes where applicable, and California Title 24 energy forms. Many cities also want CALGreen notes and product specs for insulation and ventilation.
City review without drama
Typically, most projects follow the same rhythm: submittal, comments, revisions, and permit issuance. Clean drawings with clear load paths and notes get fewer corrections and move faster through the queue. Treat comments as a checklist, respond once with complete revisions, and keep the file organized for the next reviewer.
Buildability matters
Ultimately, design decisions should consider how the crew will build them. Favor beam locations that avoid awkward posts, choose stair geometry that installs cleanly, and keep utility runs accessible. Details that respect construction reality save time, reduce dust in an occupied home, and help inspectors sign off without extra visits.
Common design missteps to avoid
However, do not design furniture into corners that block air returns or egress. Do not shrink door swings to fit a layout that needs another foot of wall. Do not bury electrical panels or attic access behind new walls. Do not assume existing framing is perfectly straight; allow for shimming and transitions so the finishes land clean.
A simple sequence to follow
Measure the house. Define the room’s primary use. Place the stair and major walls. Solve structure. Lay out electrical, plumbing, and HVAC. Produce clear drawings and energy documents. Submit to the city. Revise once with complete answers. Then build.
Closing thoughts
In the end, design is where comfort, code, and construction meet. When the layout, structure, daylight, and utilities are planned together, the addition feels original to the home and the permit process becomes predictable. Good drawings are not just paperwork, they are the roadmap to a quiet floor, bright rooms, and a smooth build.